With this tutorial I am going to show you the technique I use when I want to add text on a textured surface.
First of all open the photo with the textured surface that you want to place your text on. For this tutorial I am going to use a stock photo of a wall.

We are going to duplicate our photo. Go to Image -> Duplicate
A new window will come up asking you to give the duplicate image a name, choose a name that you will remember (I named it wall copy)

Now save the duplicate image as the-name-you-gave-it.psd. Make sure that you don’t save it in .jpg or any other format, it needs to be saved as a .psd. (File -> Save as) You can now close the duplicate image.
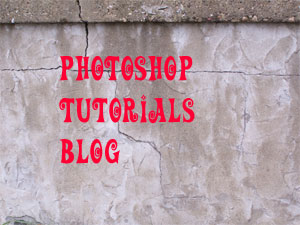
Back at our original Image. Select the text tool and type your text. I typed the name of my blog in red using the font Action ls.
The next step is to rasterize the text layer. Right click on the text layer at the layers palette and choose “Rasterize Layer”.

This is the basic step of this technique. Go to Filter->Distort->Displace
The settings I use are shown in the screenshot below, however you can experiment with the settings to find the ones that better suit you needs.
A window will come up asking you to select a displacement map. Find and select the duplicate image that you created at the start of the tutorial (Mine was “wall copy.psd”) and press open.

Here is the result of the displacement filter.
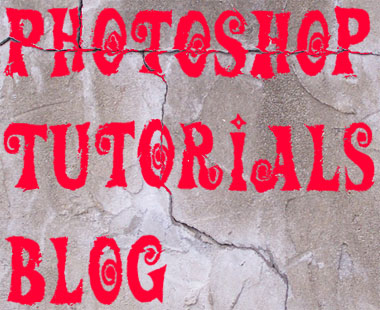
We are almost done, we just need to do one more thing, change the text’s layer blending mode. For this tutorial I used “Linear Burn”. However, when using different colors for the text or the color of the background layer is different than the one I used for this tutorial, other blending modes may work as well. For example, “Overlay” works well for black text on light color surfaces.
Here is my final result.

You can see that the text now blends nicely with the textured background.
If you liked this tutorial digg it
Comments are closed.